Here’s the thing about science experiments and calm-down tools: they’re often the same activity wearing two different hats. A jar of swirling glitter is density and gravity in action — and it’s also one of the best self-regulation tools you can hand a kid.
The five calming science experiments for kids below all do double duty. Each one teaches a real bit of science and gives kids a concrete way to settle a busy body or a big feeling. No mats, no special training, mostly supplies you already have.
How to talk to kids while you do these
Before you dive in, a quick word on how you guide these — because the way you talk matters as much as the activity itself. A few things that make the difference between an experiment and a mindfulness moment:
Keep directions short and clear. One step at a time. “Add one drop of color in the middle” beats a long paragraph of instructions a kid will tune out halfway through.
Ask what they notice. Instead of explaining everything, let curiosity do the work: “What’s happening now? What do you see?” Noticing is mindfulness — you’re training their attention without ever using the word.
Let them lead. If a kid wants to swirl the colors a different way or watch the jar twice as long, follow them. There’s no wrong way to do most of these, and the sense of control is part of what calms.
Don’t overwhelm. You don’t need all five in one sitting. One experiment, done slowly with room to wonder, beats rushing through the whole list.
Lean into a growth mindset. Bubbles pop, designs get messy, the glitter clumps. That’s not failure — it’s the experiment. “Let’s see what happens if we try it slower” keeps kids loose and willing, and it’s the same flexible thinking that helps them ride out a hard feeling. (For more on this kind of language, see our post on mindful language for teaching kids calming strategies.)
Now — the experiments.
1. The Calm-Down Jar (a.k.a. the glitter jar)
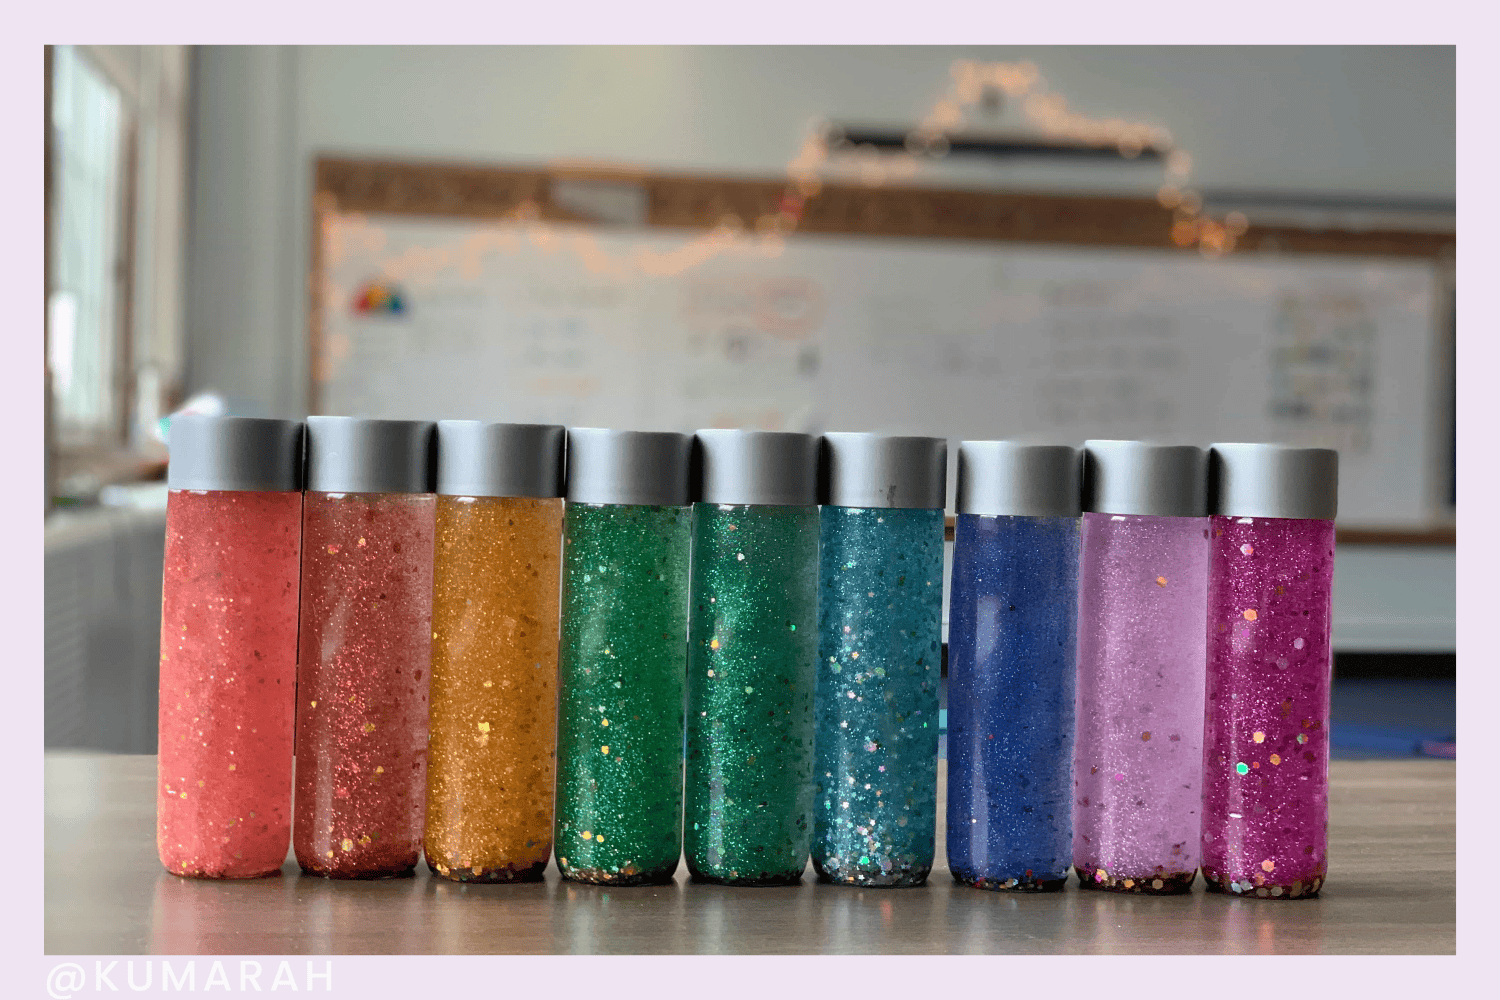
If you only make one thing on this list, make this. It’s the classic for a reason.
The science, for kids:
“Watch what happens when I shake the jar — the glitter goes everywhere, swirling around so fast we can’t see through it. Now let’s hold it still and just watch. See the big, chunky pieces? They’re heavier, so they sink first. The tiny ones float down slooowly and land last. As long as we keep the jar still, all the glitter settles to the bottom — and look, now we can see right through it again.”
(The science behind the slow settle: a little glycerin or corn syrup thickens the water so the glitter drifts down instead of dropping straight to the bottom.)
Why it calms: The glitter is a stand-in for a busy mind. Tell kids: “When we’re upset, our thoughts swirl around like that glitter and it’s hard to think clearly. We can’t grab the glitter and push it down — and we can’t force our thoughts to stop either. But if we get still and breathe, the swirling slows down on its own. The glitter settles, the water clears, and we can see again. Our minds do the same thing when we give them a quiet minute.”
How to make one (quick version):
- Add about a half-inch of glitter (chunky + fine) to a clear plastic bottle, then a little warm — not hot — water and a gentle shake to break up clumps.
- Fill a quarter to a third with glycerin or corn syrup, top off with warm water, and add 2–3 drops of dish soap to help the glitter disperse.
- Cap it, swirl with your finger to mix (your hand’s natural oils separate the glitter better than a fork), then test the settle speed — more glycerin makes it slower. When you love it, glue the lid shut with a small amount of gorilla glue or hot glue.
Want the full step-by-step? We’ve got a whole tutorial here:
How to Make a Mindfulness Glitter Calm-Down Jar — including all the mess-free setup tips.
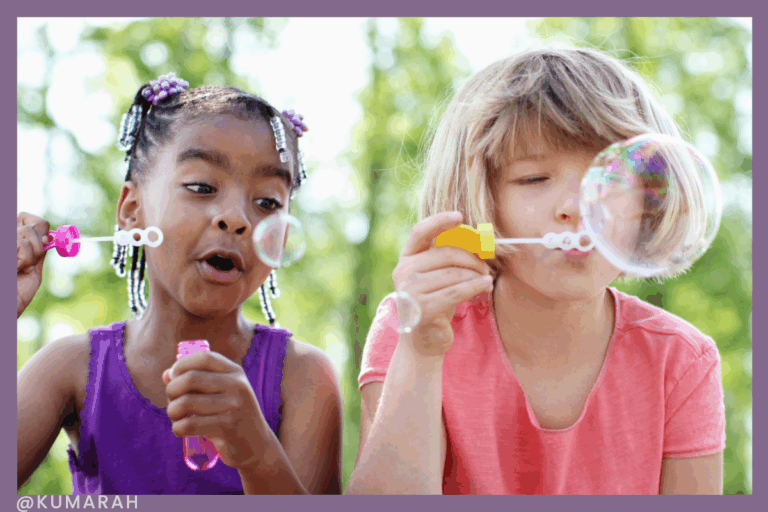
2. Bubbles or a Pinwheel (the slow-breath one)
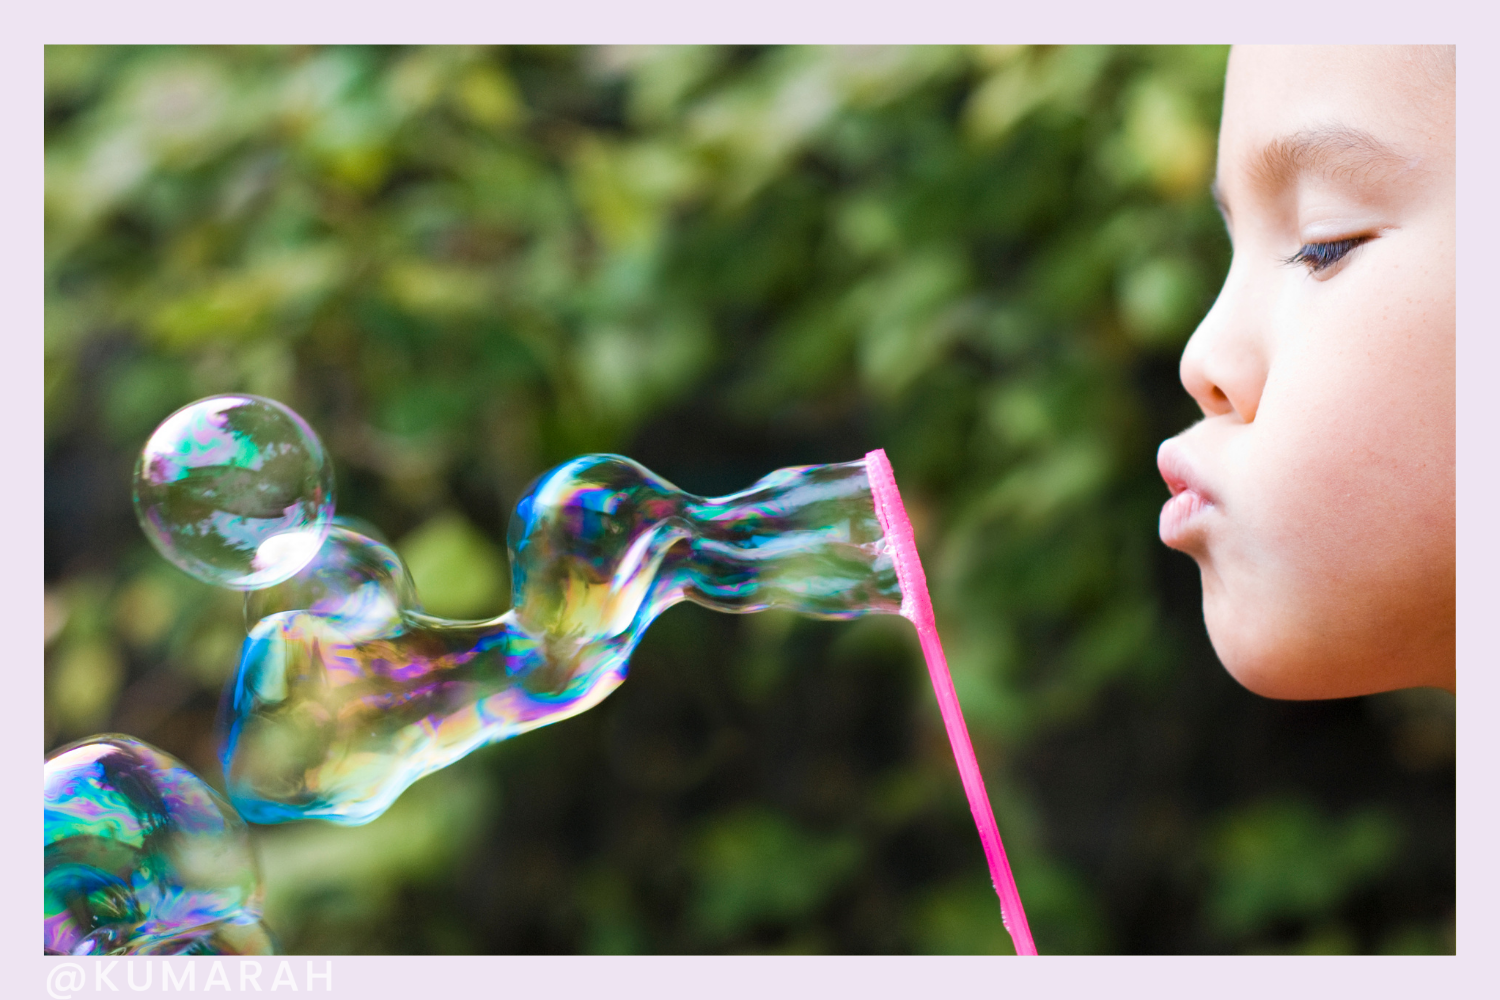
This one turns a single deep breath into something kids can see. Use bubbles outdoors and a pinwheel indoors — same lesson, no mess, your pick.
The science, for kids:
“Let’s experiment with moving air. Dip your wand, then make a small ‘o’ shape with your lips. First, blow really hard and fast — did you make a bubble, or did it pop? Now take a deep breath in, and let it out slowly and steadily. Did that work better? When the air moves slowly and gently, it has time to stretch the soap into a bubble instead of bursting it. Fast air pops it; slow air builds it.”
“Now let’s try a pinwheel — this one’s all about the angle of the air. Hold it sideways and try to make it spin. Tricky, right? Now blow straight at the front of the wheel. What changed? The air catches on the slanted wings, so the direction you blow really matters. (Ever seen a weathervane on a barn? Same idea — its shape catches the wind so it can point which way the wind is blowing.)”
Why it calms: Both make the breath the regulation tool, and they give kids instant feedback. A hard, panicked puff doesn’t work; a slow, steady exhale does — and kids feel that difference instead of just being told “take a deep breath.” That long, controlled out-breath is exactly what signals the body to settle. The floating bubble or the steady spin is proof their breath is doing its job. (For more breath-based tools, see teaching breathing exercises with yoga poses for kids.)
How to set it up (quick version):
- Bubbles (outdoor): Grab any bubble solution and wand, or mix your own — dish soap, water, and a splash of corn syrup or glycerin for sturdier bubbles.
- Pinwheel (indoor): Use a store-bought pinwheel or fold a simple DIY paper one and tack it to a straw. No mess, works anywhere.
- Have kids try the “wrong” way first (hard and fast), then the slow, steady breath — the contrast is the whole lesson.
3. The Color-Mixing Jar (the watch-it-settle one)
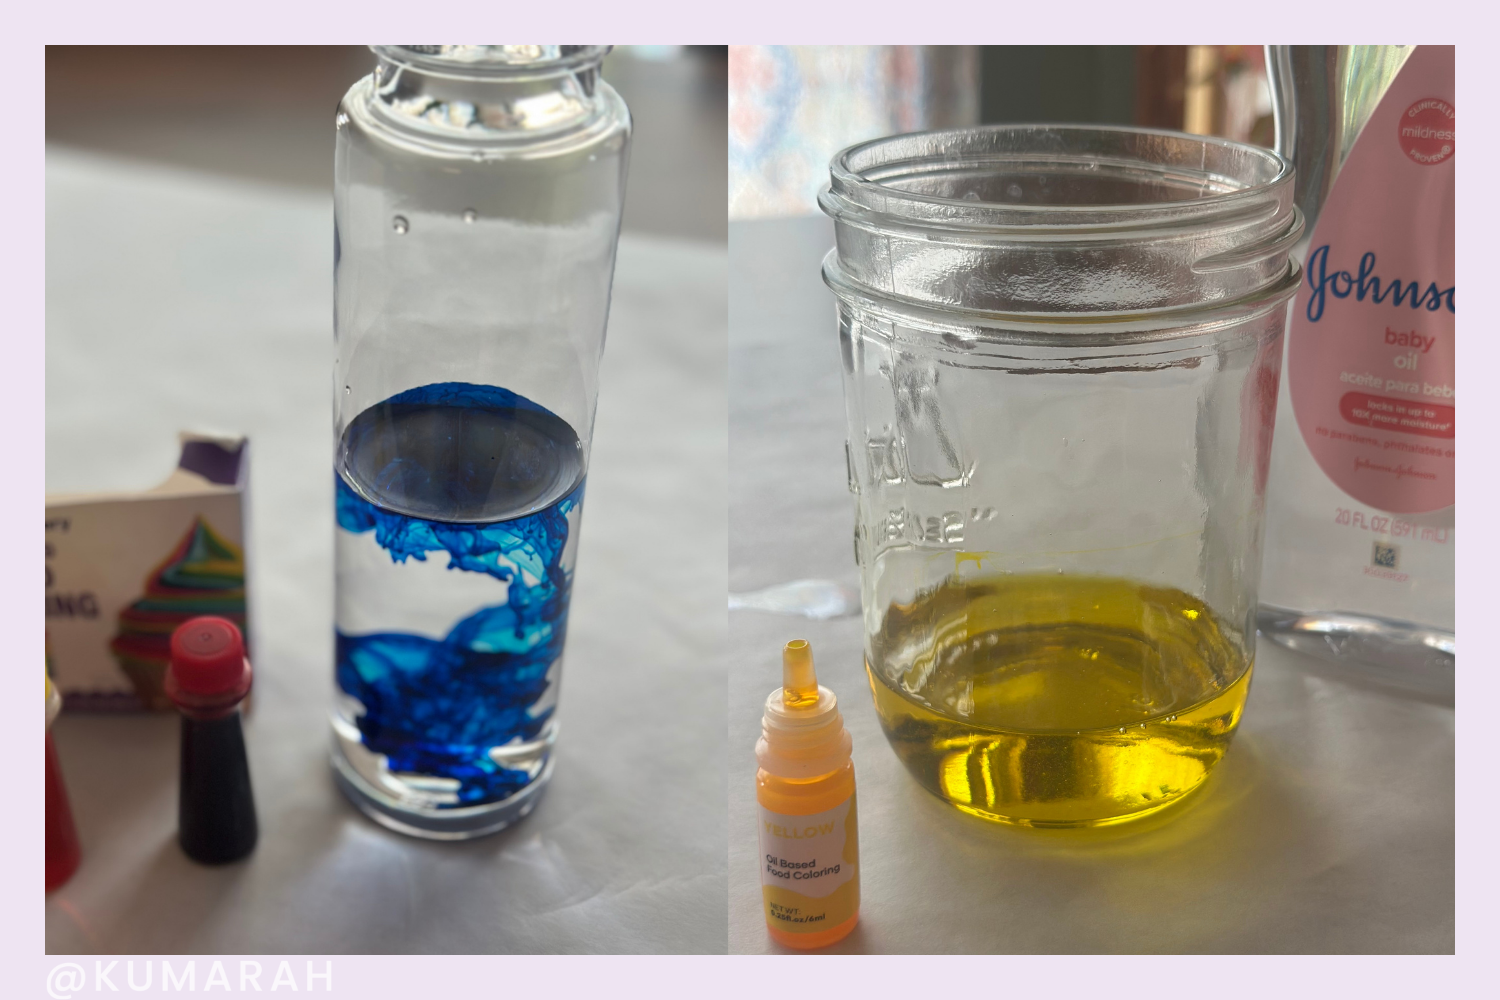
This one teaches two things at once: how primary colors mix to make new ones, and how some liquids are heavier than others and refuse to blend.
The science, for kids:
“We’re going to be color scientists. First, let’s make blue water — fill a bottle halfway with water, add a few drops of blue food coloring, and shake it up. Nice and blue!
In another cup, we’ve got clear baby oil, and we’re going to color it yellow. (This needs special oil-based dye — regular food coloring won’t stick to oil.) Stir the yellow into the oil really well.
Now, watch closely — let’s pour the yellow oil on top of the blue water. What happens? Do they mix together, or stay in two separate layers? The oil floats on top because it’s lighter than the water — they won’t blend, no matter how still we hold it.
But watch this — shake it up! What color do you see now? Green! When the blue and yellow swirl together, they make a brand-new color. Now set it down and keep watching… the oil slowly floats back up, the colors separate, and the green disappears again. We can make it green whenever we want, just by shaking.”
Make a whole rainbow: Try blue water + red oil (purple), or yellow water + red oil (orange). Each combination is a new color to discover.
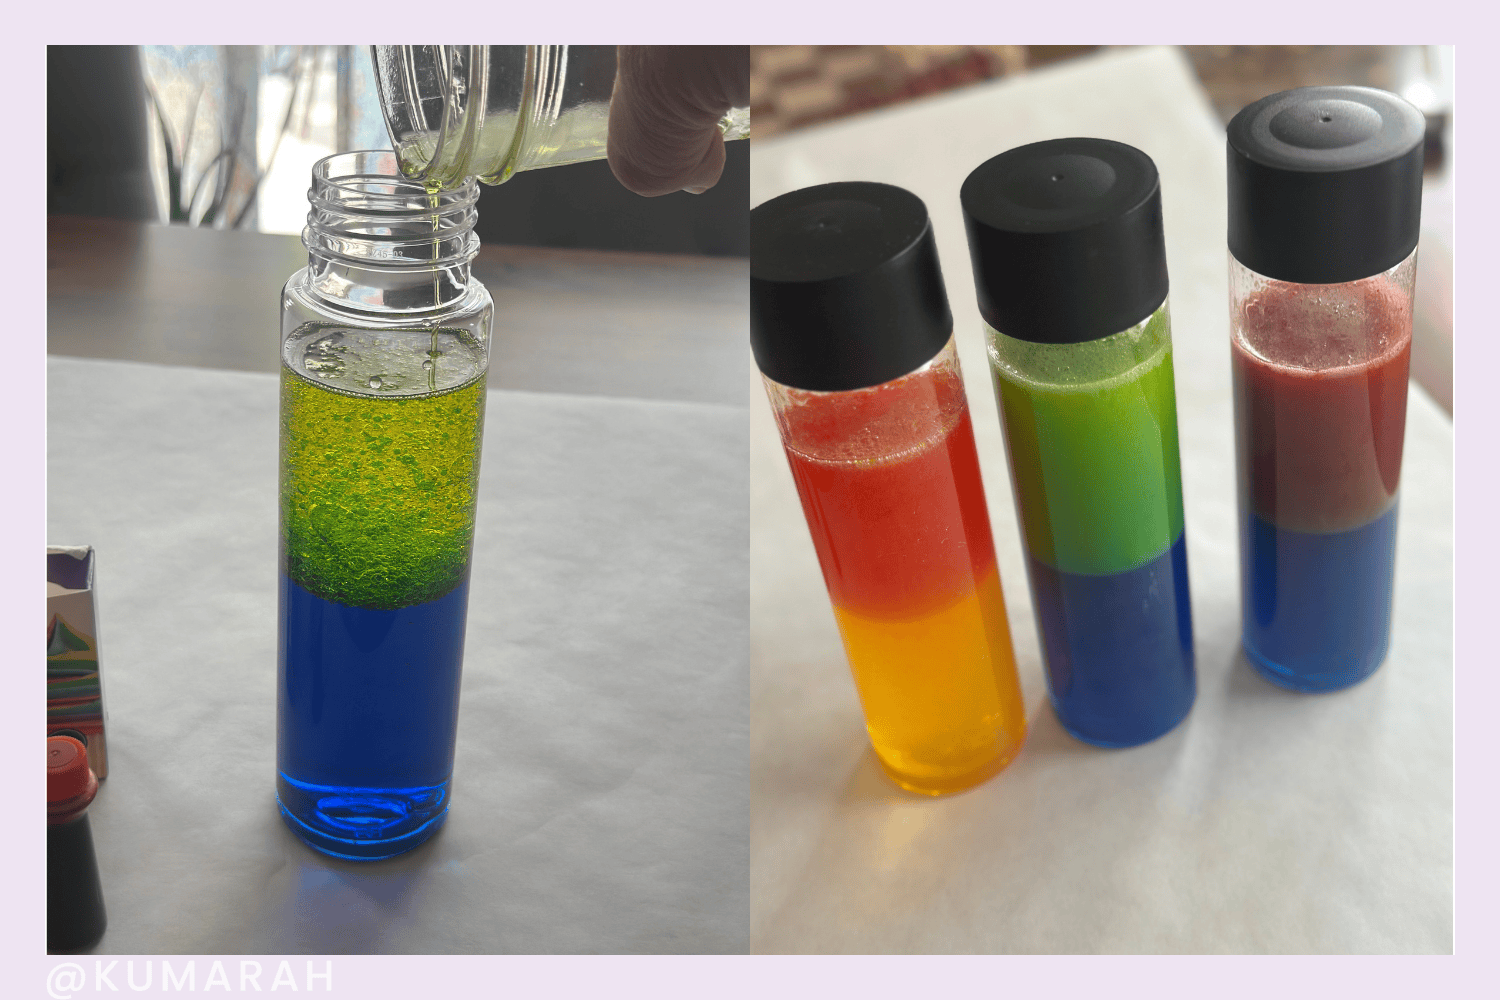
Why it calms: It’s a calm-down bottle with a twist — instead of glitter settling, kids watch two colors come together and then slowly drift apart. The slow re-separation gives them something steady to focus on and breathe through, and the “I can make the color appear and disappear” part hands them a little bit of control, which is regulating all on its own.
How to make one (quick version):
- Fill a clear bottle halfway with water and add a few drops of food coloring. Cap and shake until it’s a nice, even color. A little goes a long way.
- In a separate cup, color some clear baby oil with oil-soluble dye (candy coloring works well — regular food coloring won’t mix into oil). Stir until fully blended.
- Slowly pour the colored oil on top of the water and watch the two layers form.
- Cap it tightly, then shake to blend the colors and set it down to watch them separate again. For a rainbow, make more bottles with other combos (blue water + red oil, yellow water + red oil).
4. Magic Milk (the watch-the-burst one)
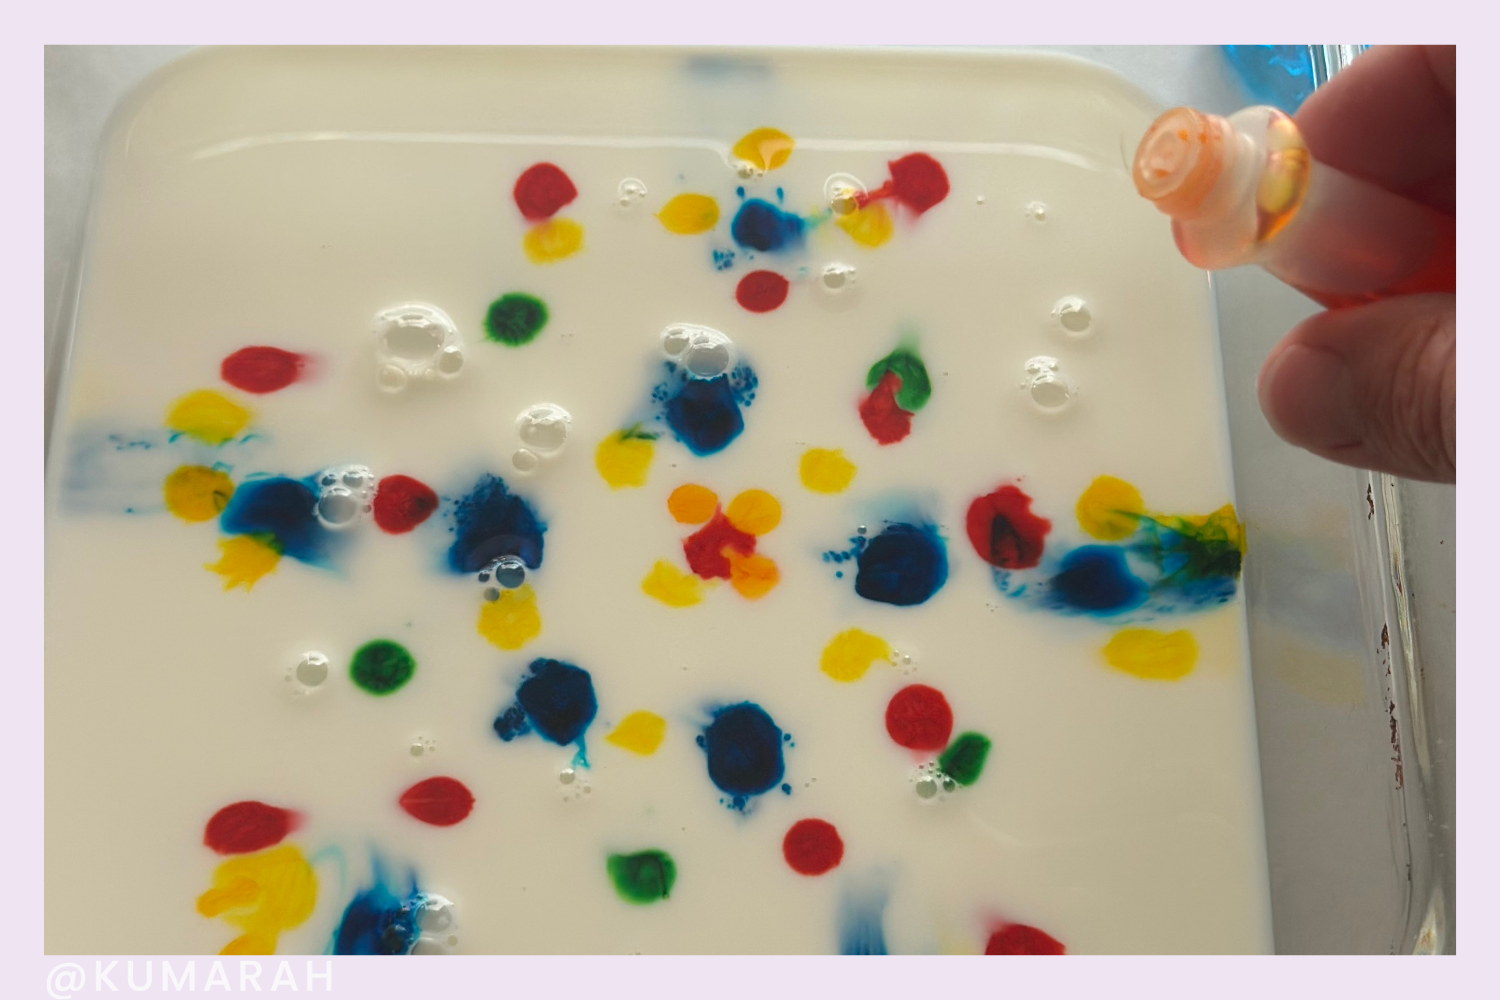
This is the showstopper of the list — the one kids beg to do again. It’s also a sneaky two-for-one: a mandala-making calm-down moment and a science surprise.
The science, for kids:
“Here’s a dish of whole milk. Whole milk has a lot of little fat molecules in it — remember that, it’s the secret to this whole thing.
First, we’re going to be gentle artists. Add drops of color to make a design on top of the milk. Let’s try a mandala — start with one drop right in the center, then change colors as you move out, making patterns as you go. Go slow, just one drop in each spot. It doesn’t have to be perfect, because in a few minutes it’s all going to swirl together anyway!
Now for the magic. Here’s a dish of soap and a cotton swab. Soap loves fat — it races to grab onto it. The milk is full of fat, but the colors aren’t. So what do you think will happen when the soap touches the milk? Let’s find out — dip the swab and gently touch it to the milk. Whoa! What did it do? Try a few more spots, one at a time. Watch how fast the soap zooms around! It’s chasing the fat in the milk, and the colors get pushed along for the ride. What happened to your mandala? How does it look now?”
Why it calms: It’s two kinds of regulation in one. The setup is slow and focused — placing each drop carefully, building the mandala, practicing patience and letting go of “perfect.” Then the soap turns it into a watch-and-breathe burst of motion that’s mesmerizing to follow. Kids get the calming ritual and a delightful payoff, and the “it’s okay if it’s not perfect, it’ll all swirl anyway” message is quietly one of the most regulating things you can teach.
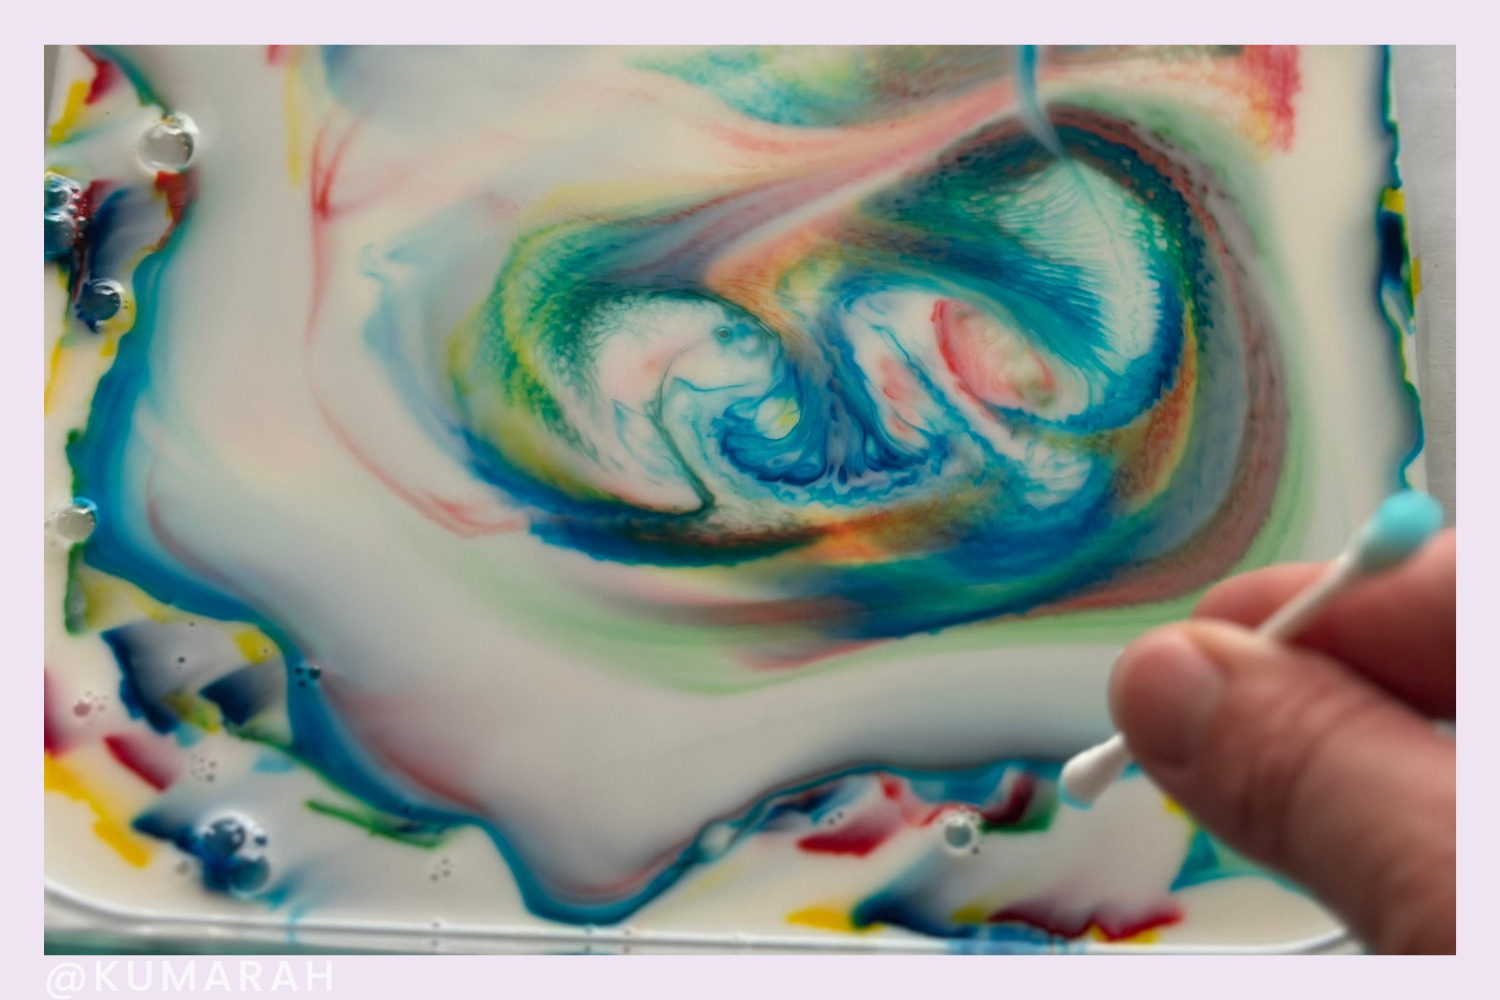
How to do it (quick version):
- Pour whole milk into a shallow dish — just enough to cover the bottom. (Whole milk only; the fat is what makes it move, so skim barely reacts.)
- Add drops of food coloring on the surface. Go slow and build a mandala from the center out.
- Dip a cotton swab in dish soap.
- Gently touch the swab to the milk and watch the colors race away. Try a few more spots, one at a time.
5. The Suncatcher (the make-it-then-use-it one)
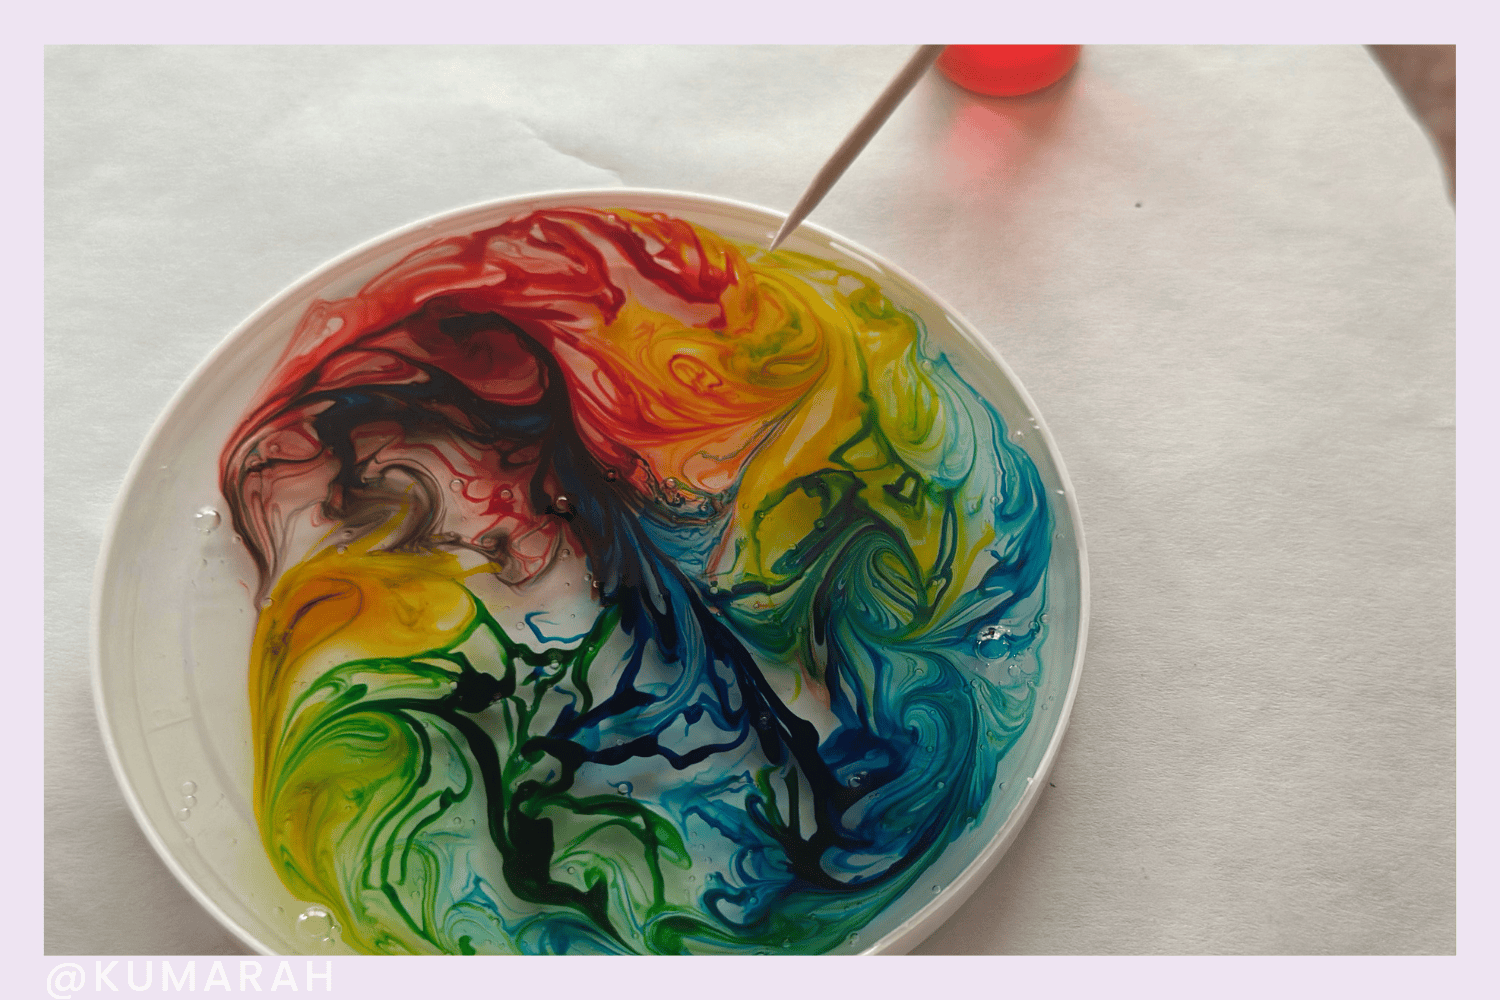
The grand finale — and the only one kids get to keep. It brings back the color-mixing magic from the jar, but this time they create a calm-down tool they can hang up and return to any time.
The science, for kids:
“We’re going to make a suncatcher by mixing colors right into some clear glue. Quick question first — why do you think we need clear glue for this and not white? Here’s the secret: clear glue dries see-through, so light can shine right through it and make the colors glow. White glue would block the light.
Let’s spread some clear glue onto a plastic lid — a Pringles lid works great, or something bigger. While it’s still wet, carefully add three drops of color in a big triangle: one red, one blue, one yellow. Now take a wooden chopstick and gently swirl the colors together. Watch what happens where they meet — what new colors are you making? Can you swirl a little design or pattern? Swirl as much or as little as you like; it’s your suncatcher.
Now comes the hard part: waiting. Let it dry completely. When it’s ready, gently peel it out of the lid, punch a hole near the top, thread some ribbon through, and hang it in a sunny window. What do you notice when the light comes through?”
Why it calms: This one stretches across time, which makes it special. The making is a slow, swirly, focused activity (regulating in itself), and then the waiting teaches patience. But the real gift is what’s left over: a calm-down tool the child made with their own hands, hanging in the window. When big feelings come, they have a quiet, colorful focal point to look at and breathe with — and because they made it, it means more than anything store-bought.
How to make one (quick version):
- Spread a layer of clear-drying glue (Elmer’s clear school glue works well) onto a non-porous plastic lid — a Pringles lid or something larger.
- While it’s wet, add three SMALL drops of food coloring in a triangle: one red, one blue, one yellow. (Just one of each is plenty!)
- Gently swirl the colors together with a wooden chopstick or a toothpick — slow and steady swirls work great.
- Let it dry completely (a full day or so). Then peel it out, punch a hole near the top, thread a ribbon through, and hang it in a sunny window.
The takeaway
The best calm-down tools don’t feel like calm-down tools — they feel like fun. When a kid is watching glitter settle or chasing soap across a dish of milk, they’re not being told to regulate; they’re doing it, with their hands and their breath and their attention. That’s the whole trick. Pick one, go slow, and let the kids notice what happens.
If you’d like more ready-to-use mindfulness activities like these — scripted lessons, breathing tools, and SEL games you can run with zero prep — take a look at our Mindfulness Tools for Kids & Classes mini course. It’s the same teacher-tested approach, organized into lessons you can pick up and teach tomorrow.
Looking for more hands-on ideas? Browse our full collection of mindfulness crafts for kids or set up a dedicated calm-down corner where these tools can live.